ACI Northwest Blog

Discover top warning signs you need heating services in Spokane, WA. Contact ACI Northwest at (800) 767-3027 for expert heat system repair and maintenance.

What can you accomplish by giving your exterior lighting a glow-up? Here is just a sampling of the many things you can do.
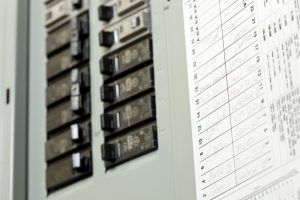
You might be wondering how long an electrical panel lasts, why it might fail, and what the signs are that it’s time for an upgrade. We’ve got the answers.
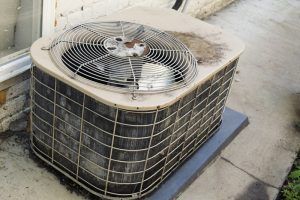
When your air conditioner is getting older, should you keep spending money on repairs? Or is it time for a replacement? Here’s some info to help you decide.
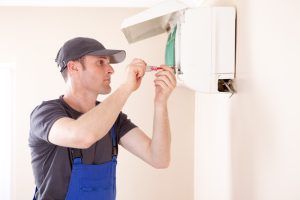
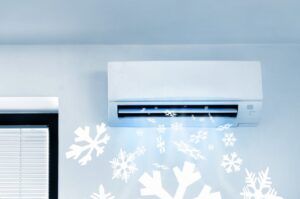
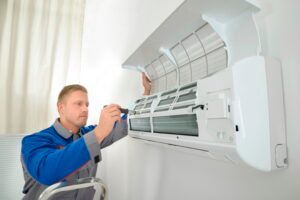
The important thing is to notice a problem right away, so you can get it fixed promptly. But what are the signs that your ductless mini split needs repair?
And your likelihood of needing repairs this summer will be cut by 85%. But how does air conditioner maintenance prevent problems and repair needs?

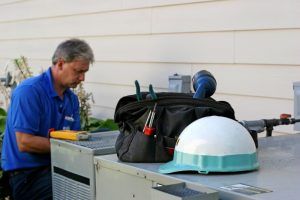
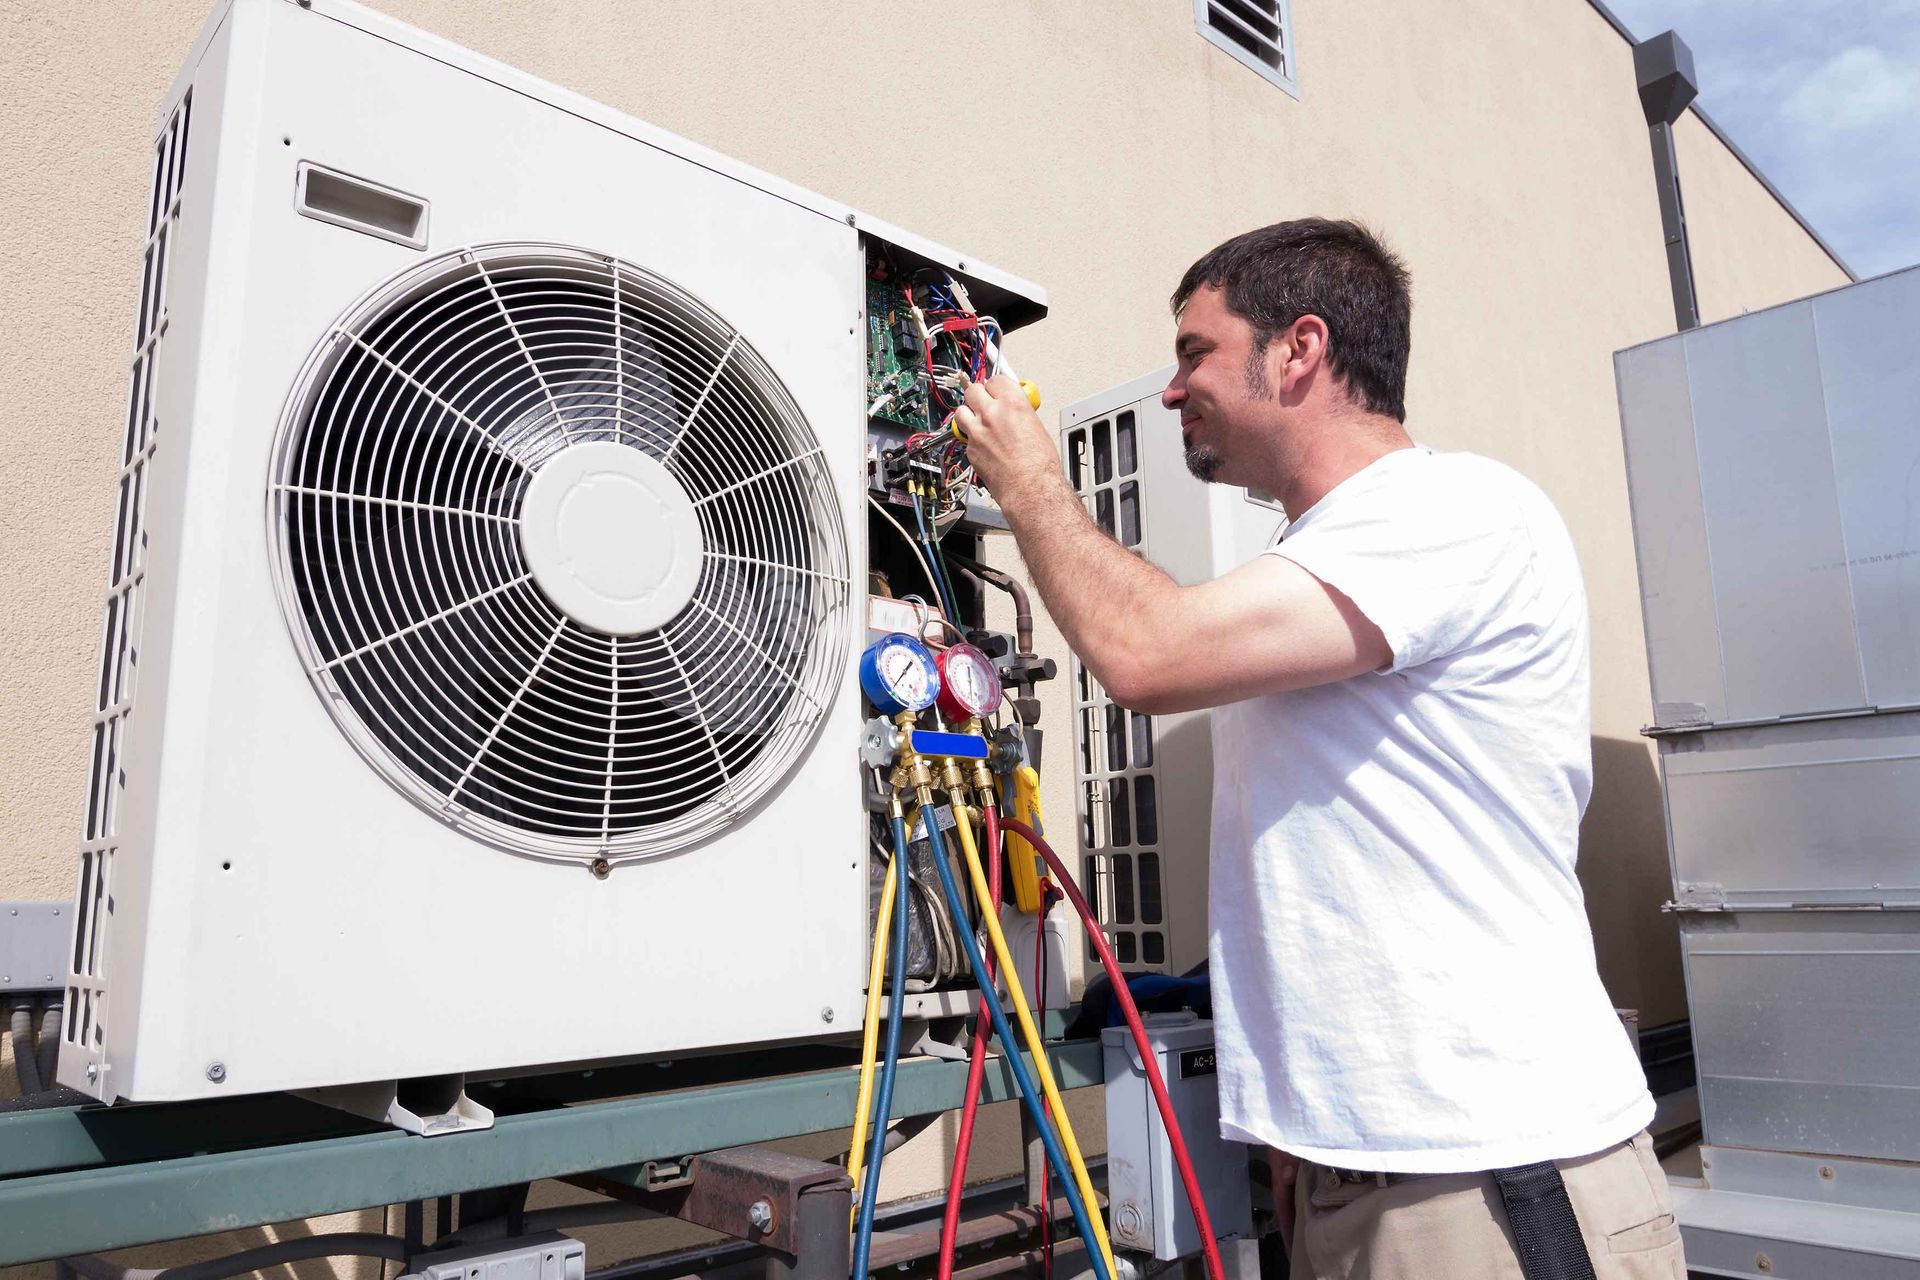
But how can you tell when HVAC repairs are necessary, or guess what HVAC services you might need? Here’s some basic information that will help.
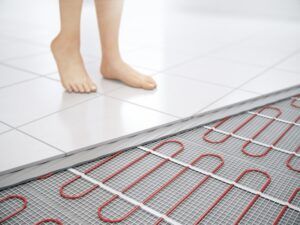
We’ll give you a simple list of signs that your radiant heating system needs help from a qualified technician. If you spot any of these, get repairs!

Outdoor lighting for your home and lawn have many benefits. What are some ways it could enhance your life? Here are some of the possibilities.
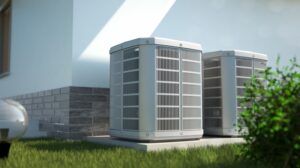
Do heat pumps commonly require the same repairs as air conditioners? What are the differences? We’ll give you some helpful information.
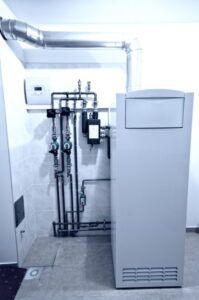
If something seems to be wrong with your boiler, can you put off having repairs done until fall? We urge you to get prompt boiler repair. Here’s why.
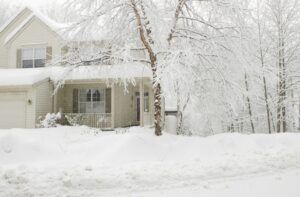
There are some specific furnace issues that are more likely to happen this time of year from all the wear and tear of the winter. Here’s what to watch for.

Why is ductless heating maintenance necessary? When does it need to be done? What maintenance can you do yourself? We’ll tell you all about it.
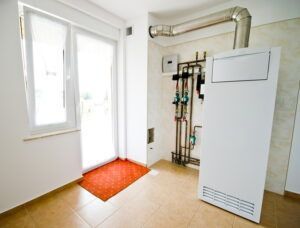
In fact, home heating boilers continue to be a favorite with many Americans, and for good reason. Here’s why they’re still so popular.

For a refreshing approach to your New Year’s resolution, how about addressing the issues with your home’s electrical wiring? Here’s what you should know.

AFUE is a rating system for measuring the efficiency of a furnace. Knowing what rating to look for will help you choose the right furnace. Here are the details.
A whole house generator is a perfect gift, one that can keep everything running smoothly under challenging circumstances. Consider these benefits.

If you do have boiler problems, it’s important to address them promptly. Make sure you notice right away by reviewing these signs that you need boiler repair.

Is your heating system ready to perform well and keep your family and your guests warm and festive? Here’s how to make sure.

You should not hear spooky sounds from your furnace! If you do, the furnace needs repair. Keep an ear out for these warning signs.

Radiant heating systems are a fantastic choice for many people. Take time to consider the pros and cons of this option. It might be right for you!
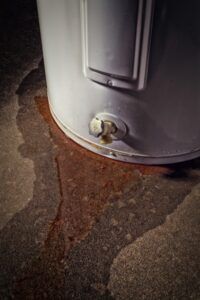
The good news is, many water heater issues are quite repairable. Here are some pointers on when you need repair and when it’s time to think about replacement.

There are two categories of problems with poor commercial lighting: technical issues and human resources issues. Here’s what we mean by that.
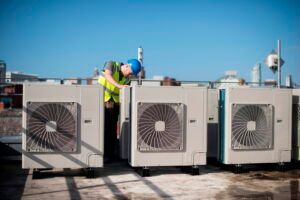
What can go wrong with rooftop HVAC units? Here are some of the repair needs that are most likely to come up.

Reach out to ACI Northwest by filling out and submitting this contact form.
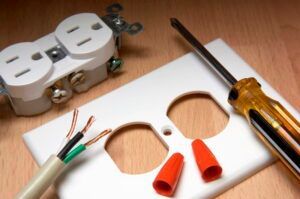
If you’re a new homeowner, or a homeowner with a new reason to consider your electrical systems, it can help to know exactly what services electricians offer.
With a little information, you might find that you do want to try something new, and that something might be a ductless mini split. Here’s why.
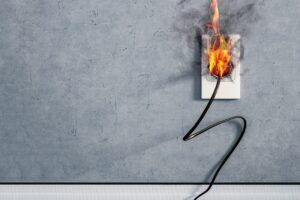
Maintenance is important for the electrical work in your home, and can prevent serious problems. We urge you to consider an electrical service plan.
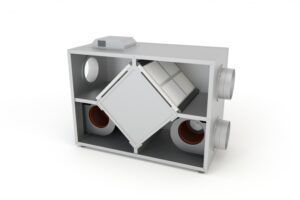
An energy recovery ventilator might be exactly what you need to improve your indoor air quality while maintaining your efficiency.

Who will install your hot tub? Can you do it yourself? No! For many reasons, this is a job for a qualified electrician. Here’s why.
We’d like to share some of the major benefits of having commercial HVAC ductwork newly fabricated to suit your exact needs.
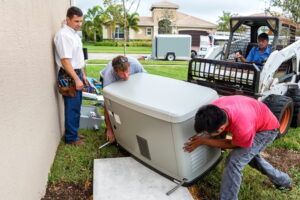
While many people use portable generators, we’d like to offer three reasons to consider a whole-house generator instead.
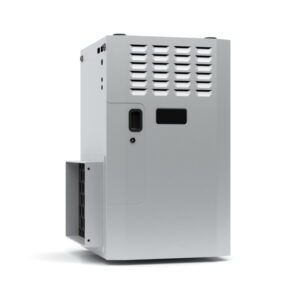
One thing that you should definitely decide early in the furnace-shopping process is whether to get an upflow or downflow furnace.
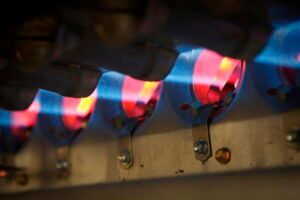
A cracked heat exchanger in your furnace can prove to be a problem for both your comfort and your safety.
Let's work together to make sure that your heat pump sees you through the summer and is ready to take on the fall season.

You can work with our team of electricians in Spokane, WA to get the best types of hard-wired outdoor lighting for your home's needs so you can enjoy the benefits that come with a well-lit home.

Read on to find out more about how and why working with a trained electrician to handle your commercial electric wiring is so important.

Let's get ahead of the problem by discussing some of the reasons your air conditioner may not be able to cool your home the way it is meant to.
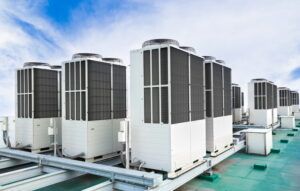
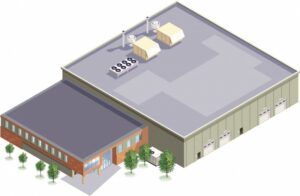
Here are five of the top advantages that rooftop HVAC systems can provide for your commercial building.
Call ACI Northwest Today!
Call us today to learn more about what we can do for you.


